Raspberry Pi + Octoprint
Here, at Colaborativa, we have been printing in 3D for almost two years now. Our small RepRapPro Huxley was assembled collectively in the Colaboratorio and since then we have used it for all sort of projects from small hacks and appliances repairs, to full size architectural structures.
We enjoy having our RepRap in our desks –it is great to work on a design, then print it and iterate it on the go– but sometimes is cumbersome to have to connect the RepRap directly from our laptops whenever we want to print something, specially if they are long-time printing jobs.
We recently discover Octoprint, a web interface for 3D printers that can be installed in an embedded system like a Raspberry Pi. It works similarly as the web UI of the Lasersaur we assembled earlier this year.
Installing Octopi
Octopi is a ready to use disk image for Raspberry based on Raspbian that includes Octoprint: a web interface for 3D printers and a streamer for live viewing of prints and time-lapse video creation. Here you can download the latest version of the Octopi Raspberry disk image ready to be flashed on a SD card.
Flashing the disk image on a SD card will depend on your OS. For mac osx you can use disk image and the dd command, there is also a little app that have a nice UI for the process. For windows you will need an app like Image Writer. If you use Linux you can use frisk and dd, in Ubuntu there is also Image Writer, which can be downloaded directly from the download center. Tut-plus made a good step by step tutorial of all the steps in each OS.
Once the disk image is flashed you just need to insert it in your Raspberry, plug the ethernet cable –Raspberry Pi model B has an ethernet port– and power on the Raspberry. Wait a couple of minutes, open your browser and point to octopi.local –make sure that your computer and the Raspberry Pi are on the same network– within seconds it will open the octoprint UI.

Look ma, no wires!
The next step for getting a truly untethered system was to install a WiFi USB dongle to the Raspberry Pi and configure it for your wireless network. This took us a little bit longer than we expected because our network has a hidden SSID, this is how it was configured:
First ssh into the Raspberry, remember Octopi is based in Raspbian so we will follow the usual username and password pi and raspberry respectively:
ssh pi@octopi.local
Once you are logged in as pi then edit the /ect/network/interfaces file:
sudo nano /etc/network/interfaces
Delete everything in there and paste the settings below, there are two different variations depending to whether we are connecting to a hidden network or not. if we are connecting to a visible network (always assuming that you are in a WPA wireless network) then use the following settings:
auto lo

iface lo inet loopback
iface eth0 inet dhcp

allow-hotplug wlan0
auto wlan0

iface wlan0 inet dhcp
	wpa-ssid "ssid"
	wpa-psk "password"
If you are using a hidden SSID then use this configuration instead:
auto lo

iface lo inet loopback
iface eth0 inet dhcp

auto wlan0
allow-hotplug wlan0
iface wlan0 inet dhcp
	wpa-scan-ssid 1
	wpa-ap-scan 1
	wpa-key-mgmt WPA-PSK
	wpa-proto RSN WPA
	wpa-pairwise CCMP TKIP
	wpa-group CCMP TKIP
	wpa-ssid "My Secret SSID"
	wpa-psk "My SSID PSK"

iface default inet dhcp
Rembember to change wpa-ssid and wpa-psk accordingly with your own network details. When you have finished press [ctrl]+x. This will ask if you want to save the modified files.
Next, shut down your Raspberry Pi, plug the WiFi adapter in and start it up again. The Raspberry Pi will connect this time using the WiFi adapter, be patient, it can take longer than when using the ethernet port. Normally USB WiFi dongles have status leds so if everything went as expected you will see some blinking light coming out from the dongle.
Configuring the Octoprint interface
We won’t go through the whole interface as it is quite similar than the Pronterface app. The only missing elements for us were the calibration buttons to move the head to each corner of the bead and a small problem with the Motors off button, which didn’t seem to respond.
Fortunately, Octoprint has a custom control feature to add extra controls for your 3D printer. Here you have all the details
Here you have the steps for creating these controls. First ssh again in your Raspberry Pi:
ssh pi@octopi.local
Then, open the octoprint folder:
cd ~/.octoprint
Edit the config.yaml file:
sudo nano config.yaml
Go at the end of the document and right after >appearance: {} press enter and paste the following code. Make sure indentations are correct by entering the right amount of spaces, yaml language is very sensible to this:
controls:
	- command: M84
	  name: Motors Off
	  type: command
	- command: G1 X20 Y20 F6000
	  name: Move X20 Y20
	  type: command
	- command: G1 X120 Y20 F6000
	  name: Move X120 Y20
	  type: command
	- command: G1 X120 Y120 F6000
	  name: Move X120 Y120
	  type: command
	- command: G1 X20 Y120 F6000
First wireless prints
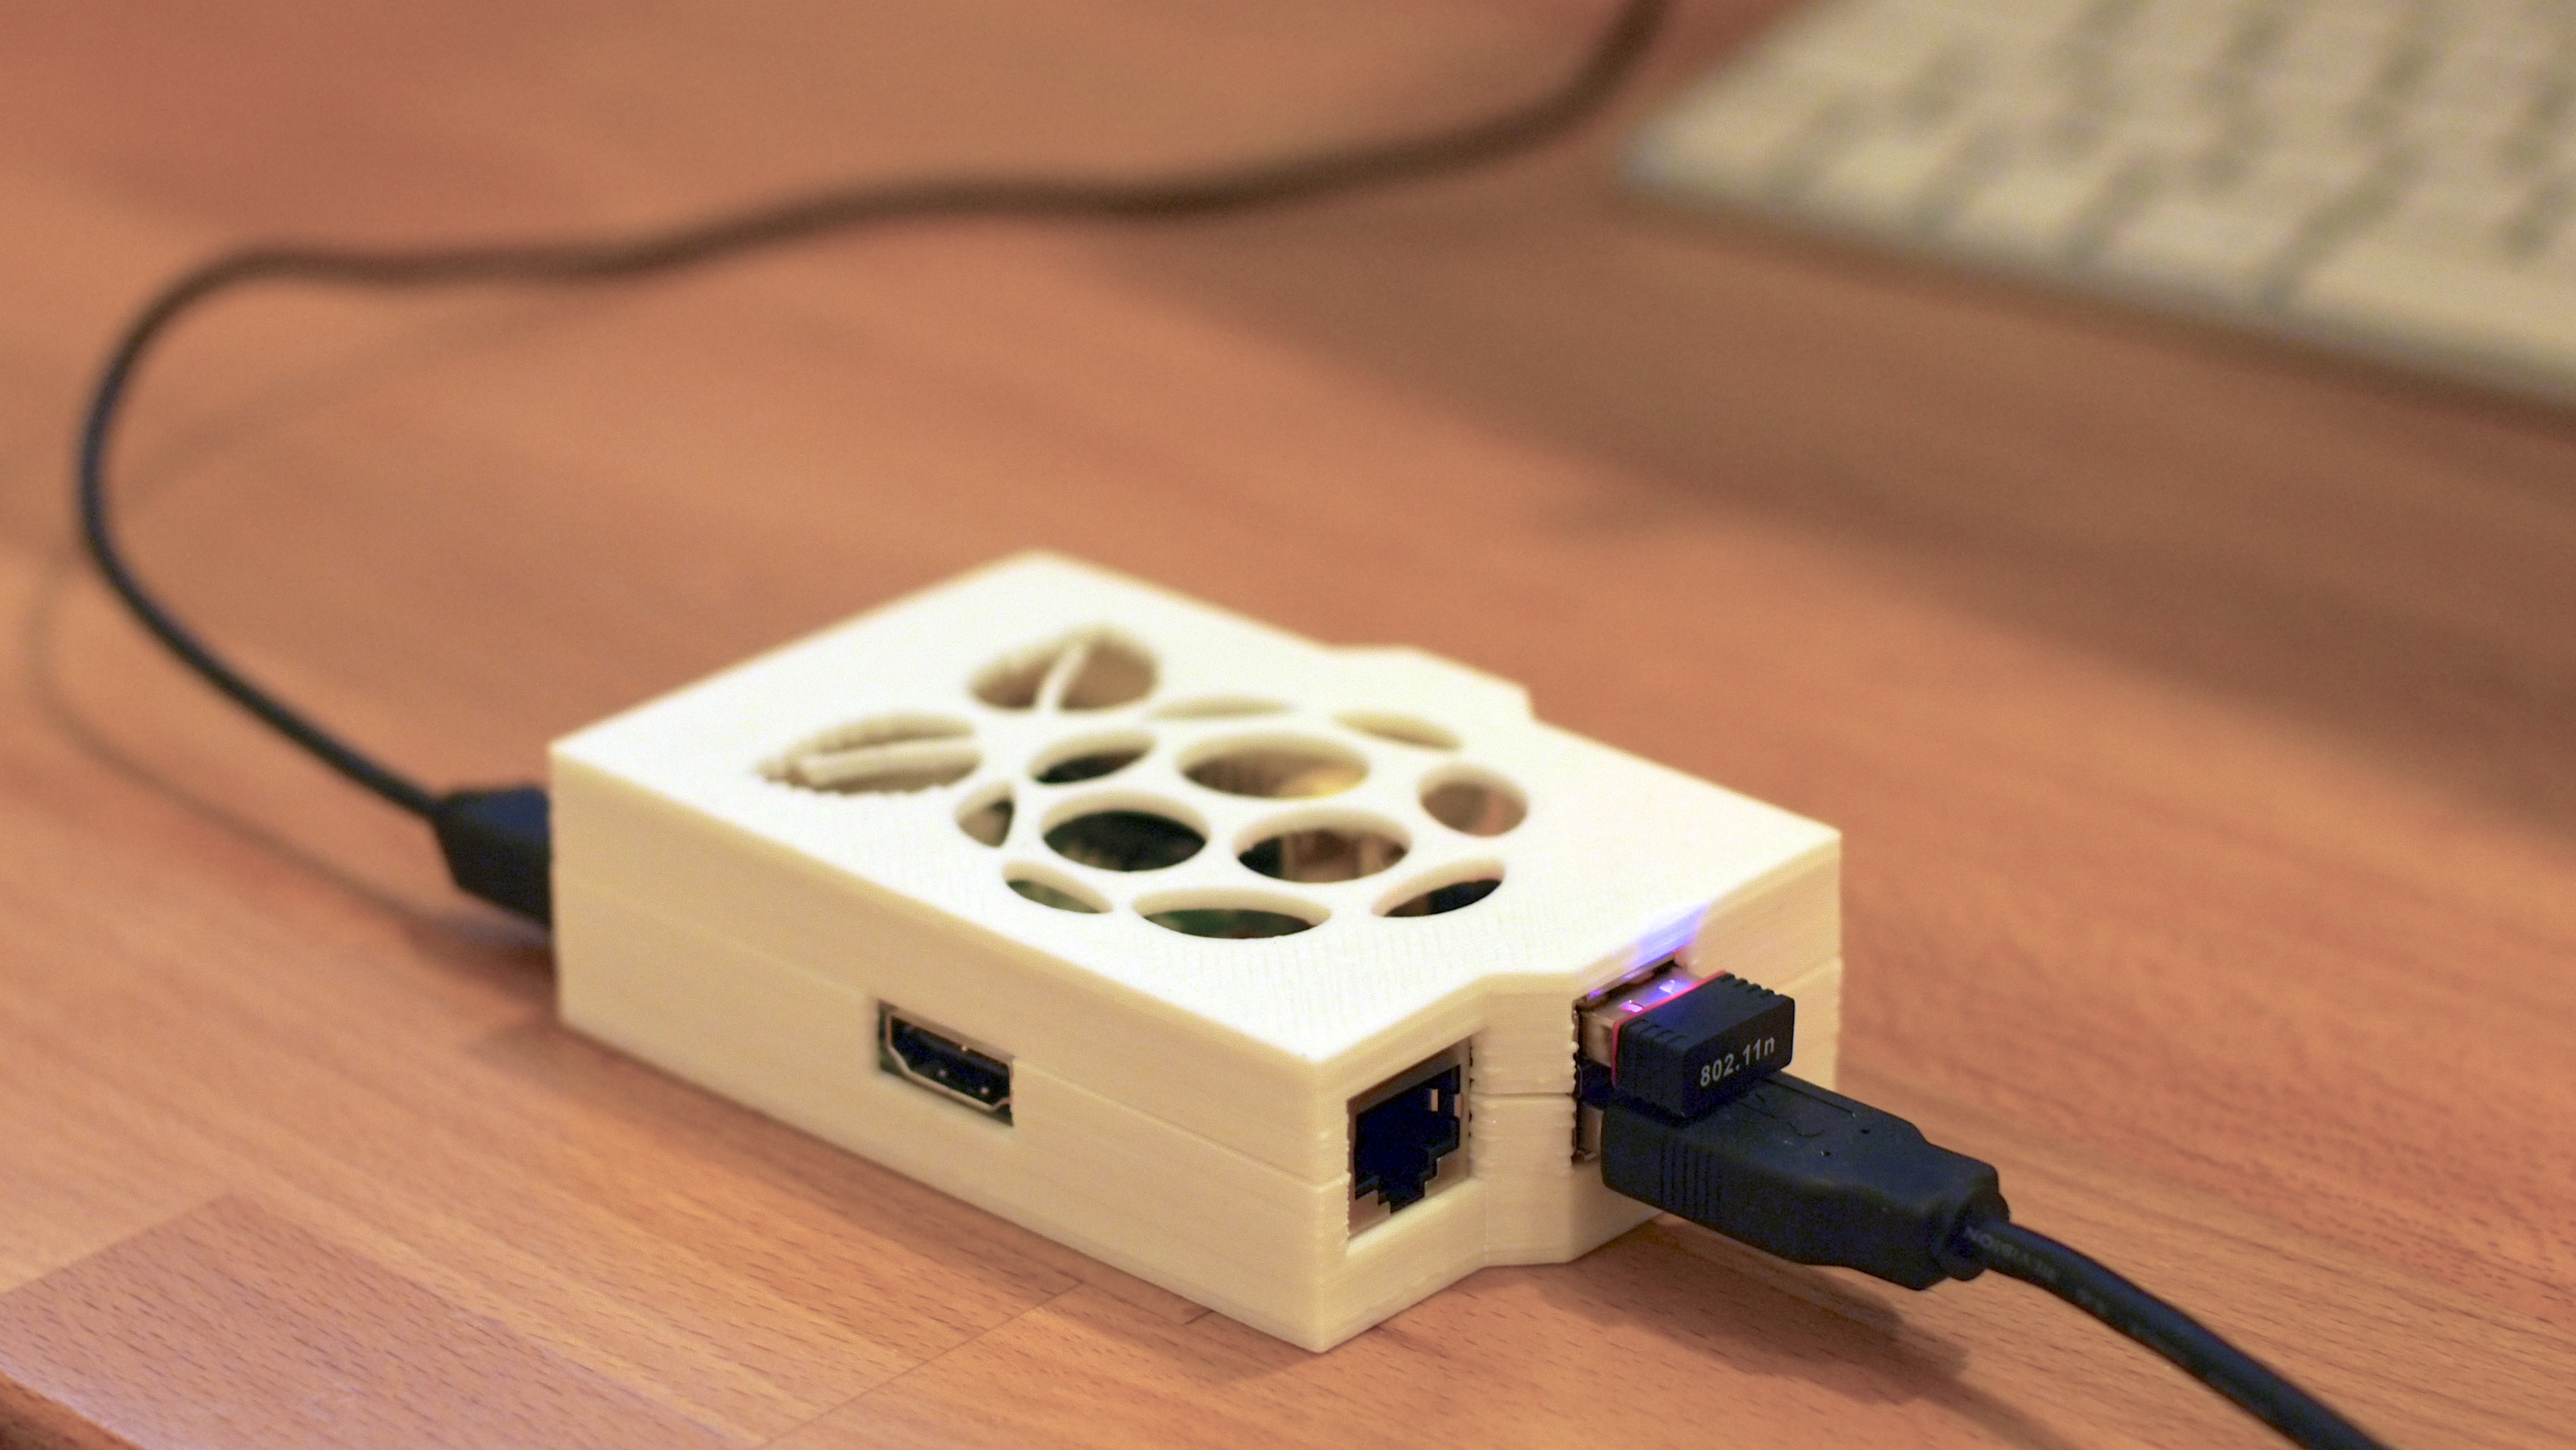
The whole process went surprisingly smooth for us and we’ve got the system up and running in a couple of hours. First thing we printed out using Octoprint was a case for our Raspberry PI. It worked as good as with our old and trusted Pronterface app.
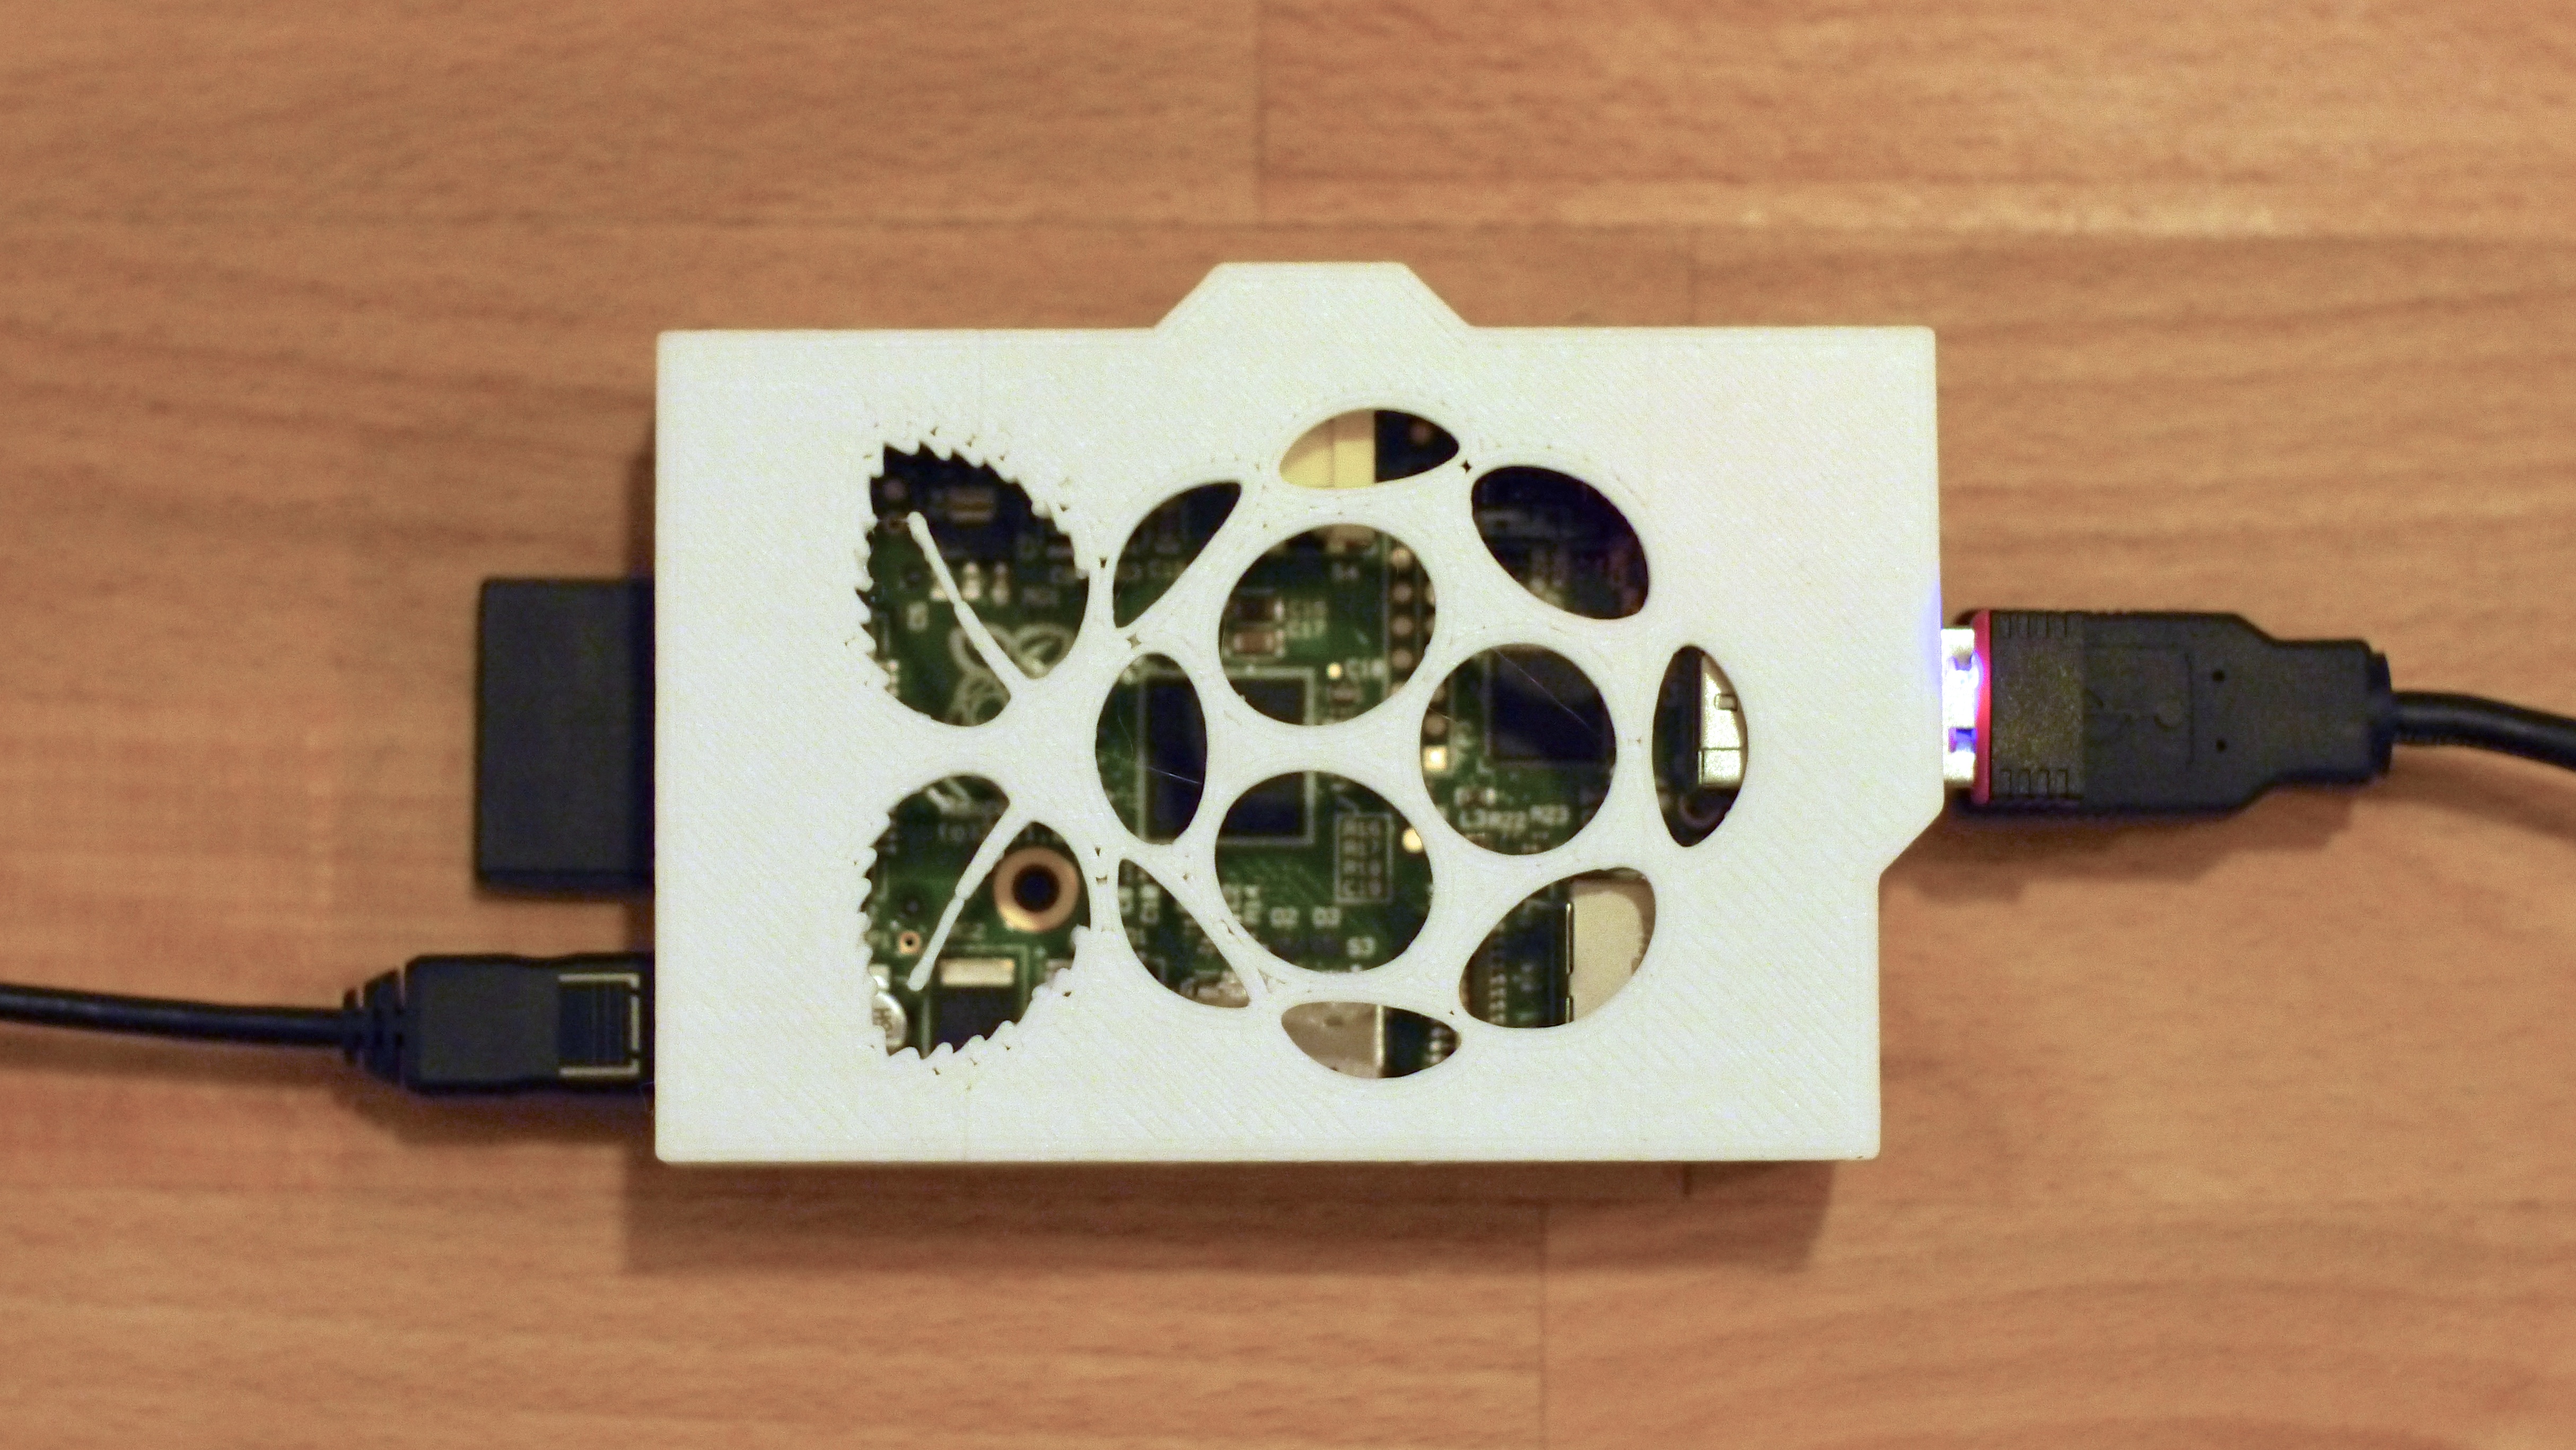
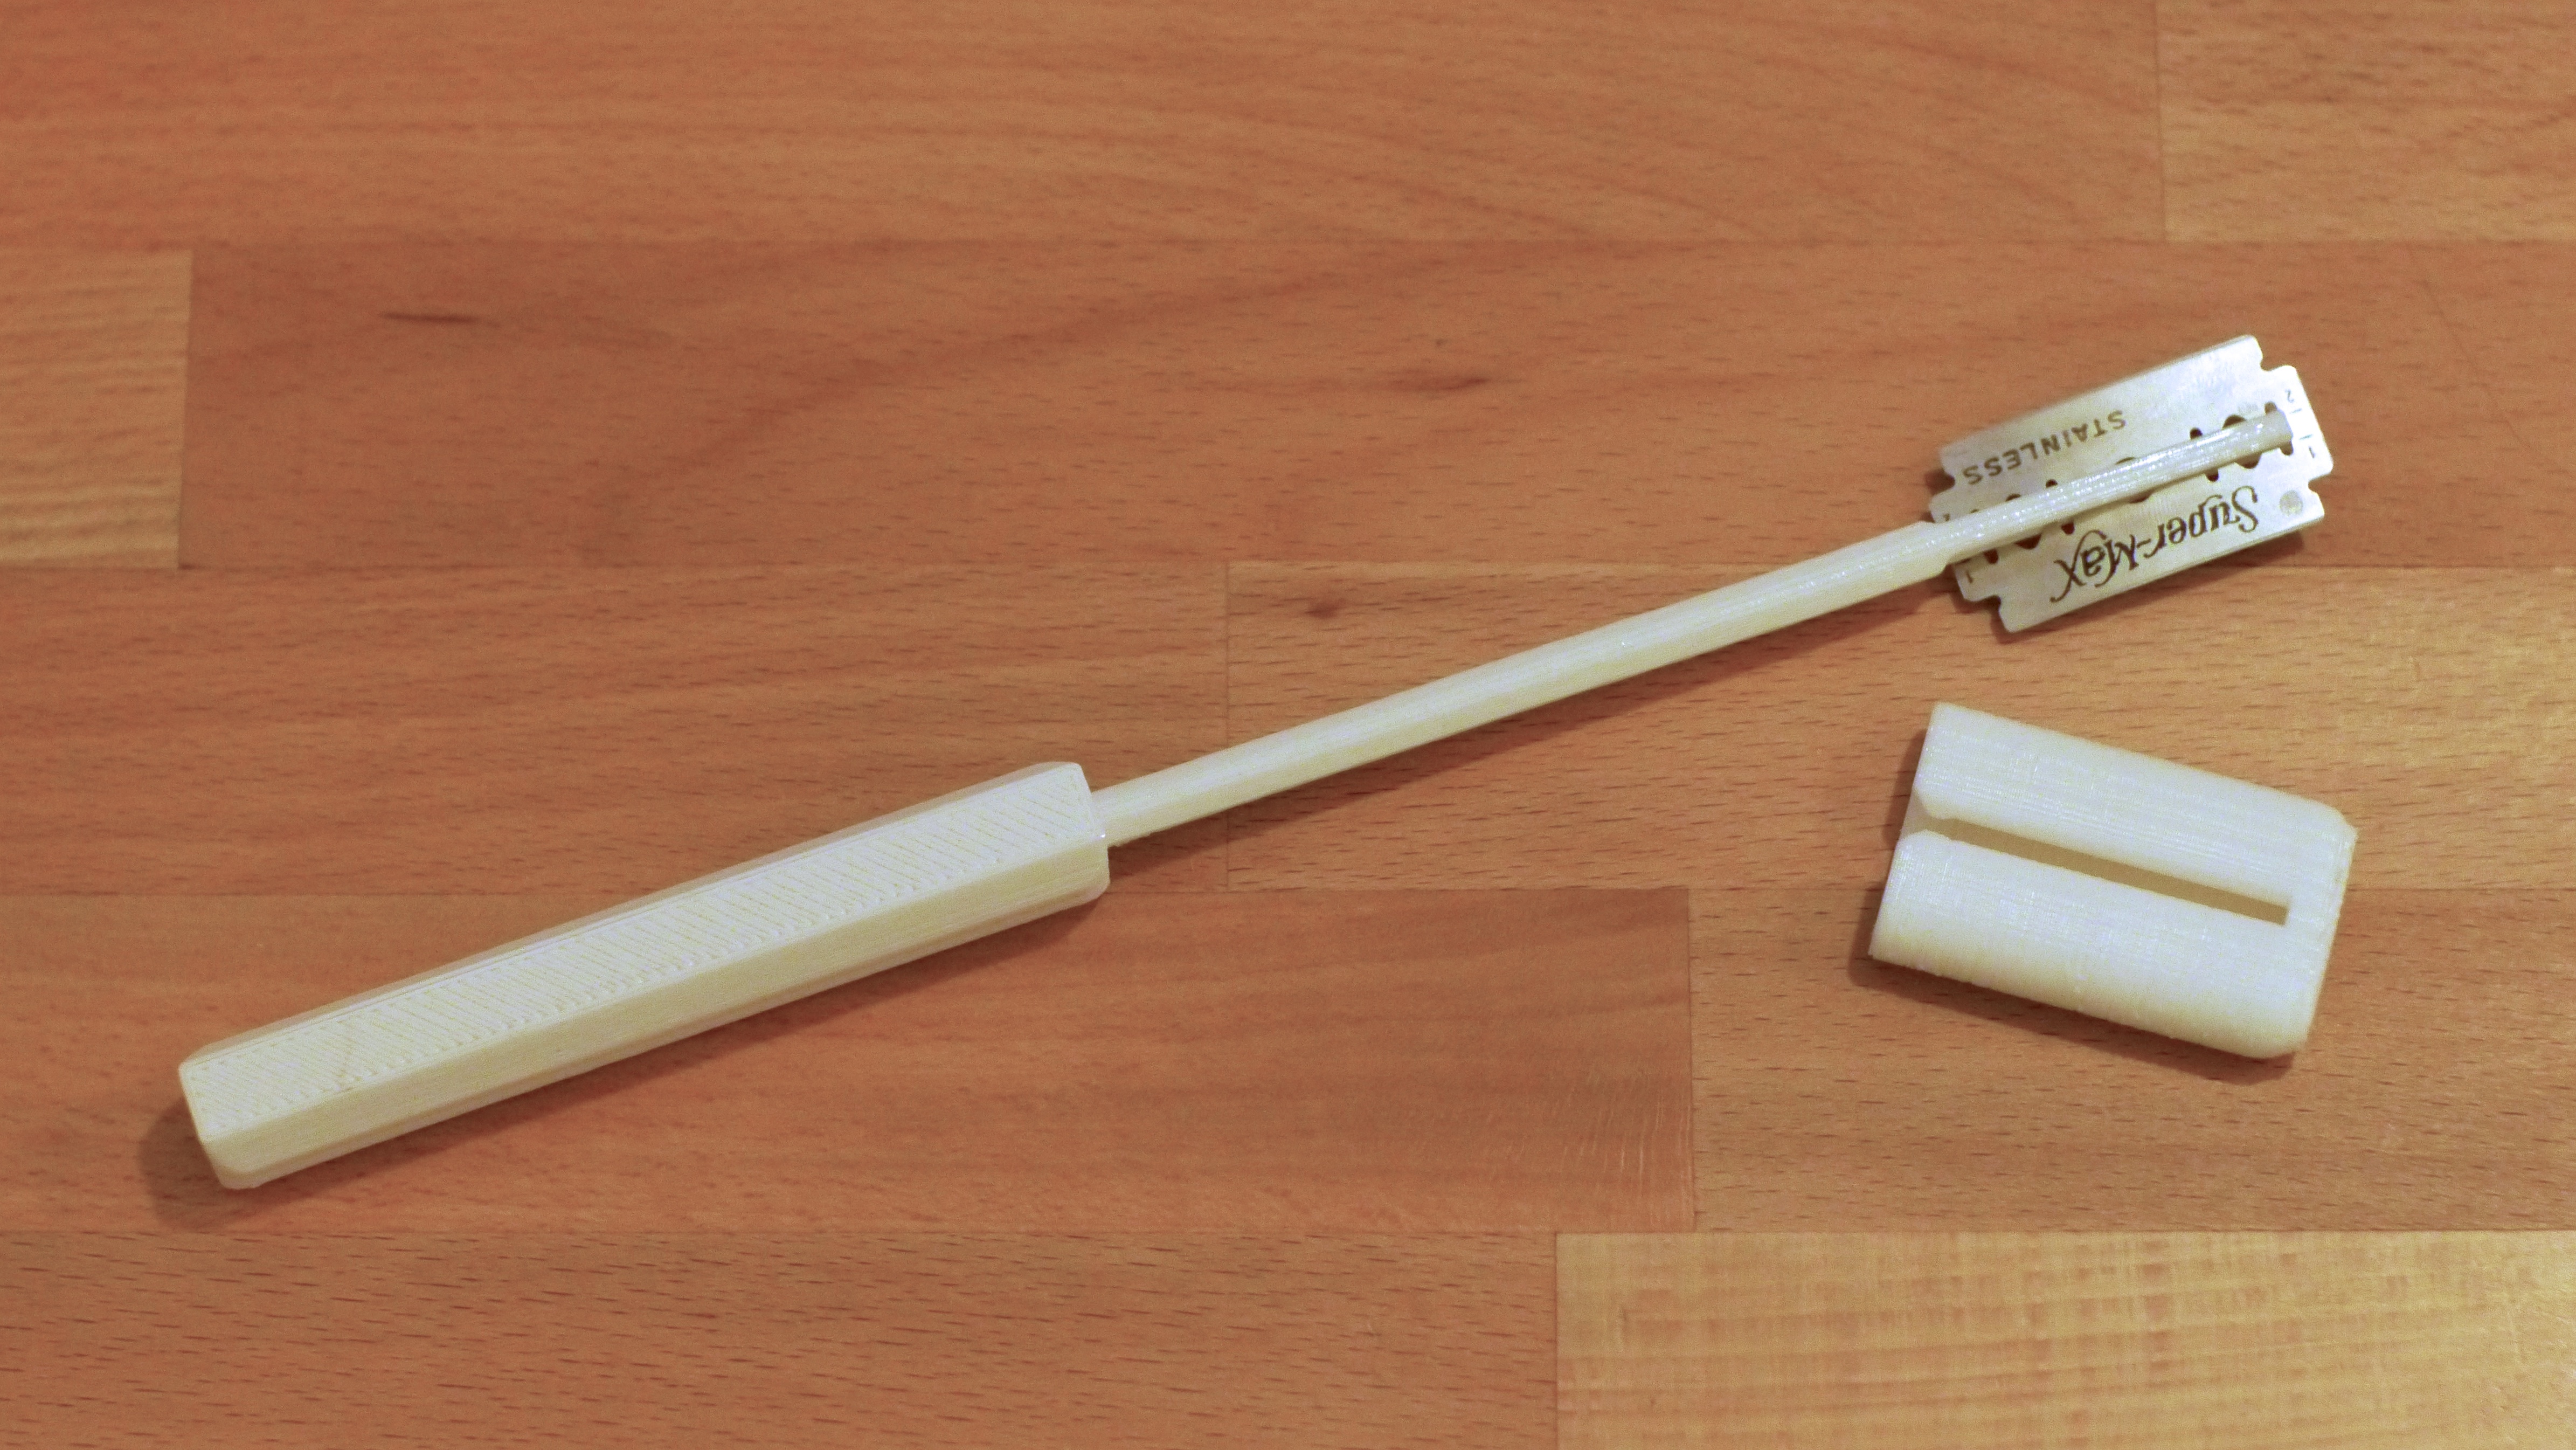
The user interface is very responsive and its design is clean and easy to read, in fact it feels better than Pronterface so if you happen to have a Raspberry around we definitely recommend you to give it a try. Our second print with Octoprint was this clever design for a Bread Lame found at Thingiverse for which we obtained similar great results.
Reading the documentation we discovered that Octopi supports the Raspberry Pi camera module allowing remote monitoring of the print and even is capable of creating time-lapse videos. We just ordered a camera module so we will try this feature soon!
We hope you like it! If you have any question about this setting contact us via twitter at @colaborativaeu